
How To Deploy Your .NET Core App on an IIS Server
When you work in an enterprise environment you can’t choose where you would want to publish your application, especially if you enter a very established company. There would be times that you have to publish in a Linux environment, but in this case publishing in a Windows environment.

Configure your .NET Core project
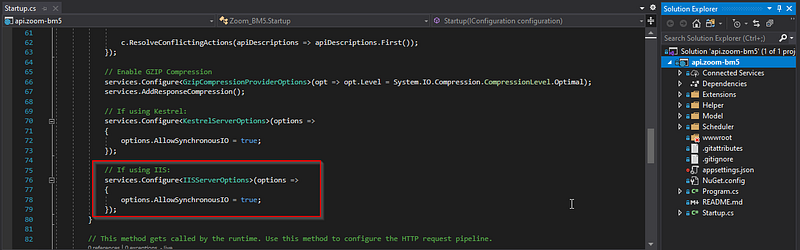
When trying to deploy on an IIS Server, make sure you already configure your Startup.cs and Program.cs accordingly. On the Startup.cs you should add this config:
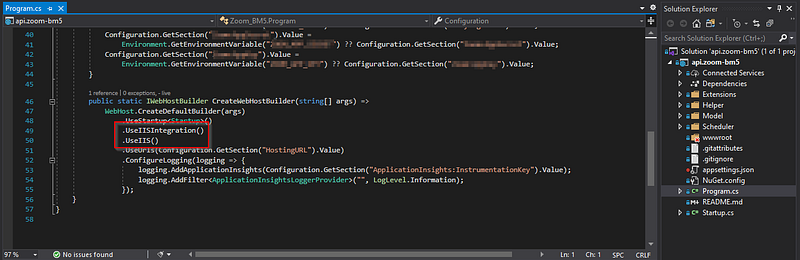
On the Program.cs add this config:
Configure your IIS Server
Downloading the required packages
Install the required packages before configuration.
Downloading the dotnet SDK
Deployments only need runtime, but if you want to have a more flexible environment that allows you to build and publish dll files rather than only running it you would want to install the latest dotnet SDK, here.
Install the Azure Artifacts Credential Provider
Next, install the Azure Artifacts Credential Provider, full instructions can be seen here.
Azure Artifacts Credential Provider Manual Installation Guide
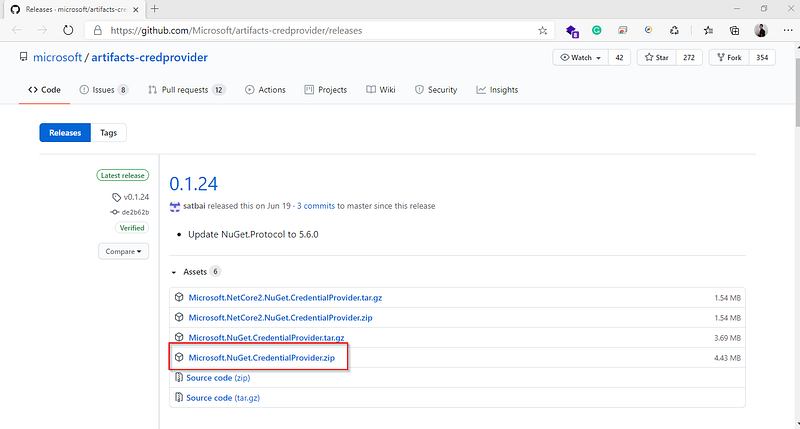
Find the latest release here, and download the .zip package.
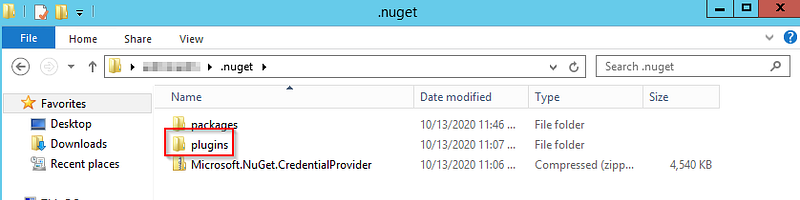
After downloading the zip archive, copy the plugins folder to %USERPROFILE%/.nuget
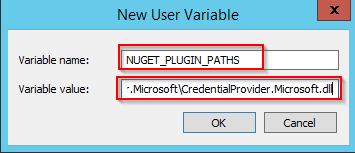
Set your environment variables, open User Variables and create a new entry.
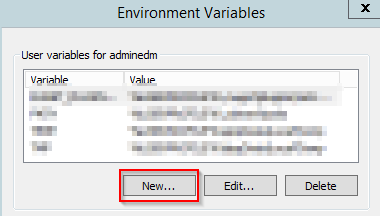
Set the variable name to NUGET_PLUGIN_PATHS, and because in this case, we are going to be using the dotnet credential provider, so set the value to
%USERPROFILE%\.nuget\plugins\netcore\CredentialProvider.Microsoft\CredentialProvider.Microsoft.dll
Then finish the setup by clicking OK on the Environment Variables dialog.
Publish your .NET Core application
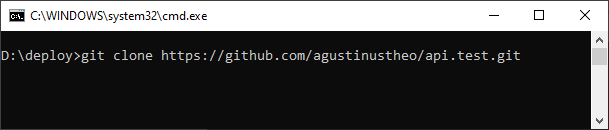
Pull the project from DevOps
Get into the directory where you want to put the application.
Get inside the newly formed folder and run the dotnet publish command. Further info regarding the commands can be seen here.
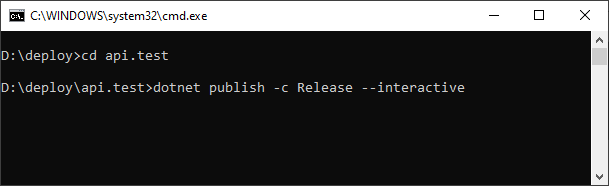
If an authorization prompt to https://microsoft.com/devicelogin pops up, login using the Azure DevOps account and enter the code shown in the window.
Otherwise, it should show a successful build like so:
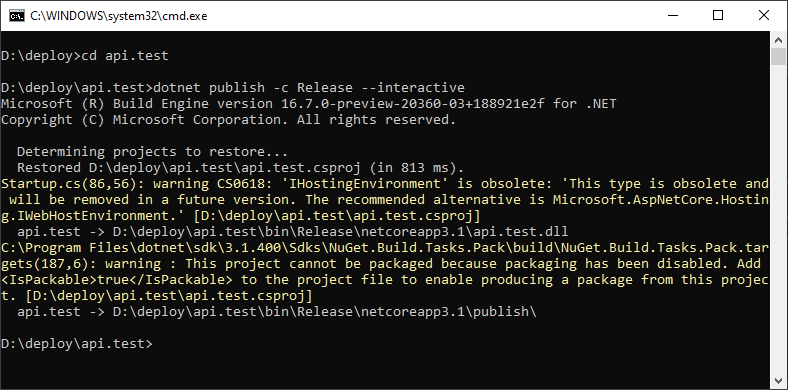
In this case, D:\deploy\api.test\bin\Release\netcoreapp3.1\publish is the physical path.
This will be the path used when configuring your app on an IIS application.
Run your .NET Core on IIS
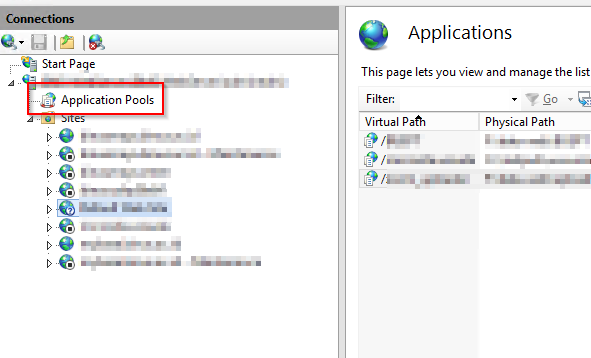
Add the application pool
Right-click on the Application Pools option.
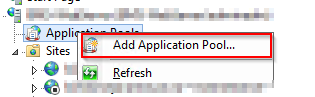
Choose the Add Application Pool option
Name your application pool and set the .NET CLR version to No Managed Code.
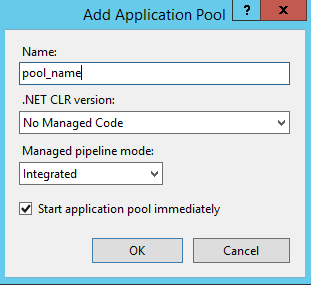
Then click OK.
Add the IIS website (Optional)
This configuration is optional as you can use a pre-existing site.
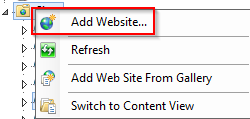
Right-click on the Site option
Click Add Website
Set the Site name and the physical path to the .NET Core build.

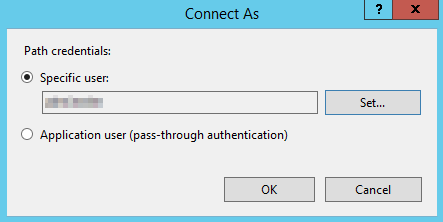
Click the Connect as… button, to connect as a specific user. Set your user credentials and click OK
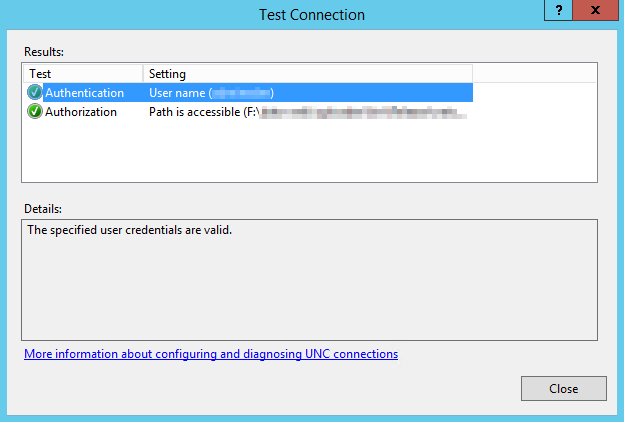
Click Test Settings and it should show a pop up like this
Then on the Add Website dialog click OK to finish the setup.
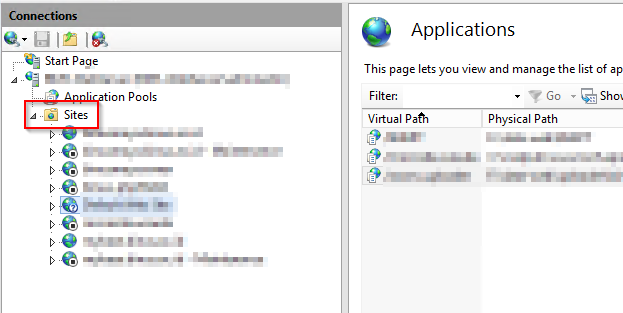
Add the Application on the IIS website
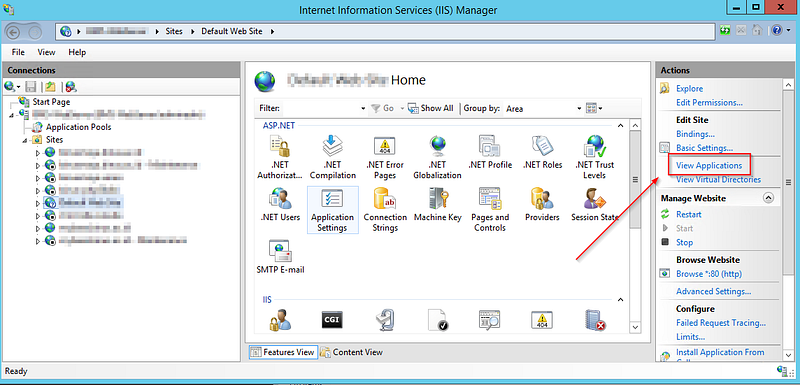
On the site’s homepage, click on the View Applications button.
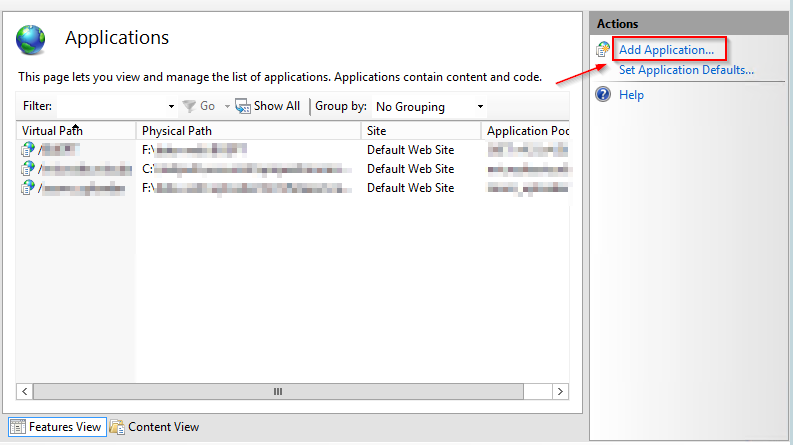
Click on the Add Application action
Set your alias, this will be the path on the Url. Then, set the physical path to the .NET Core build.
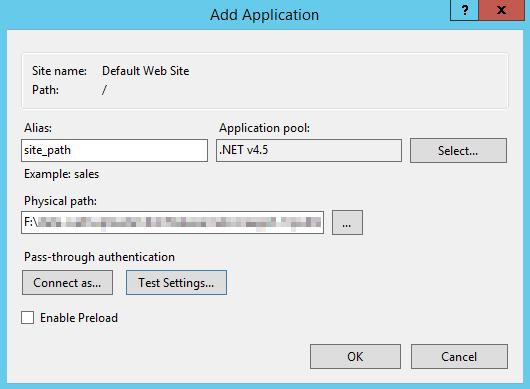
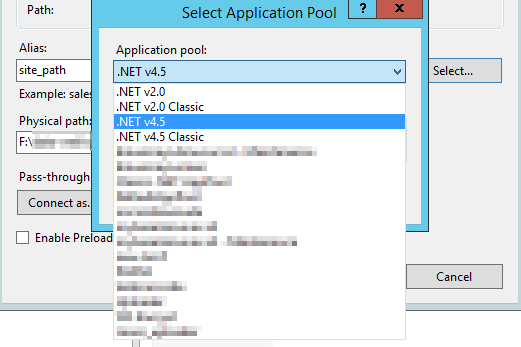
Next, select the application pool you previously made, then click OK
Click the Connect as… button. Set your user credentials and click OK

Click Test Settings and it should show a pop up like this

Then on the Add Application dialog click OK to finish the setup.
When all steps are done, your application should be running. Test this by opening a browser and put localhost/*your application alias* in the search bar.
Summary
In this tutorial, you have learned how to serve a .NET Core application using IIS.
To recap what we have done:
- We have configured our .NET Core web app before deploying it on IIS.
- We have installed the prerequisites for the IIS server.
- We installed the required dotnet SDKs and the corresponding Azure authentication providers.
- We have configured IIS to deploy our .NET Core app.
You now have an open playbook to use when you want to deploy dotnet applications on IIS. Hope this tutorial was of help and have a nice day!